Ideation
If I were stranded and alone on Mars, I’d imagine my mental health would be significantly impacted. Such a confrontation of solitude would, most likely, bring with it aspects of depression, anxiety, and other forms of struggles with mental health, not to mention the sheer amount of existentialism of being removed so far from humanity. Well, this project, a mental wellness check-in machine, begins to address this concern. It’s sort of a psychiatry-therapy companion that pulls (in a very, very surface-level way) from CBT and DBT and psychiatry. The machine displays messages and questions to the user who, at given points, can interact via a joystick. Though restrictive in the sense that only three moods or mood-descriptive words can be chosen and that the whole script cannot change in real time, such that the user can direct the conversation more actively, it still gives a sense of tending to concerns in a way. Anyway, this mental wellness check-in machine works to address some of these struggles with mental health in times of extreme isolation through questions, interactions, and medicine dispensing.
Once I had established the idea itself, I created a sketch of what I imagined the casing would look like:
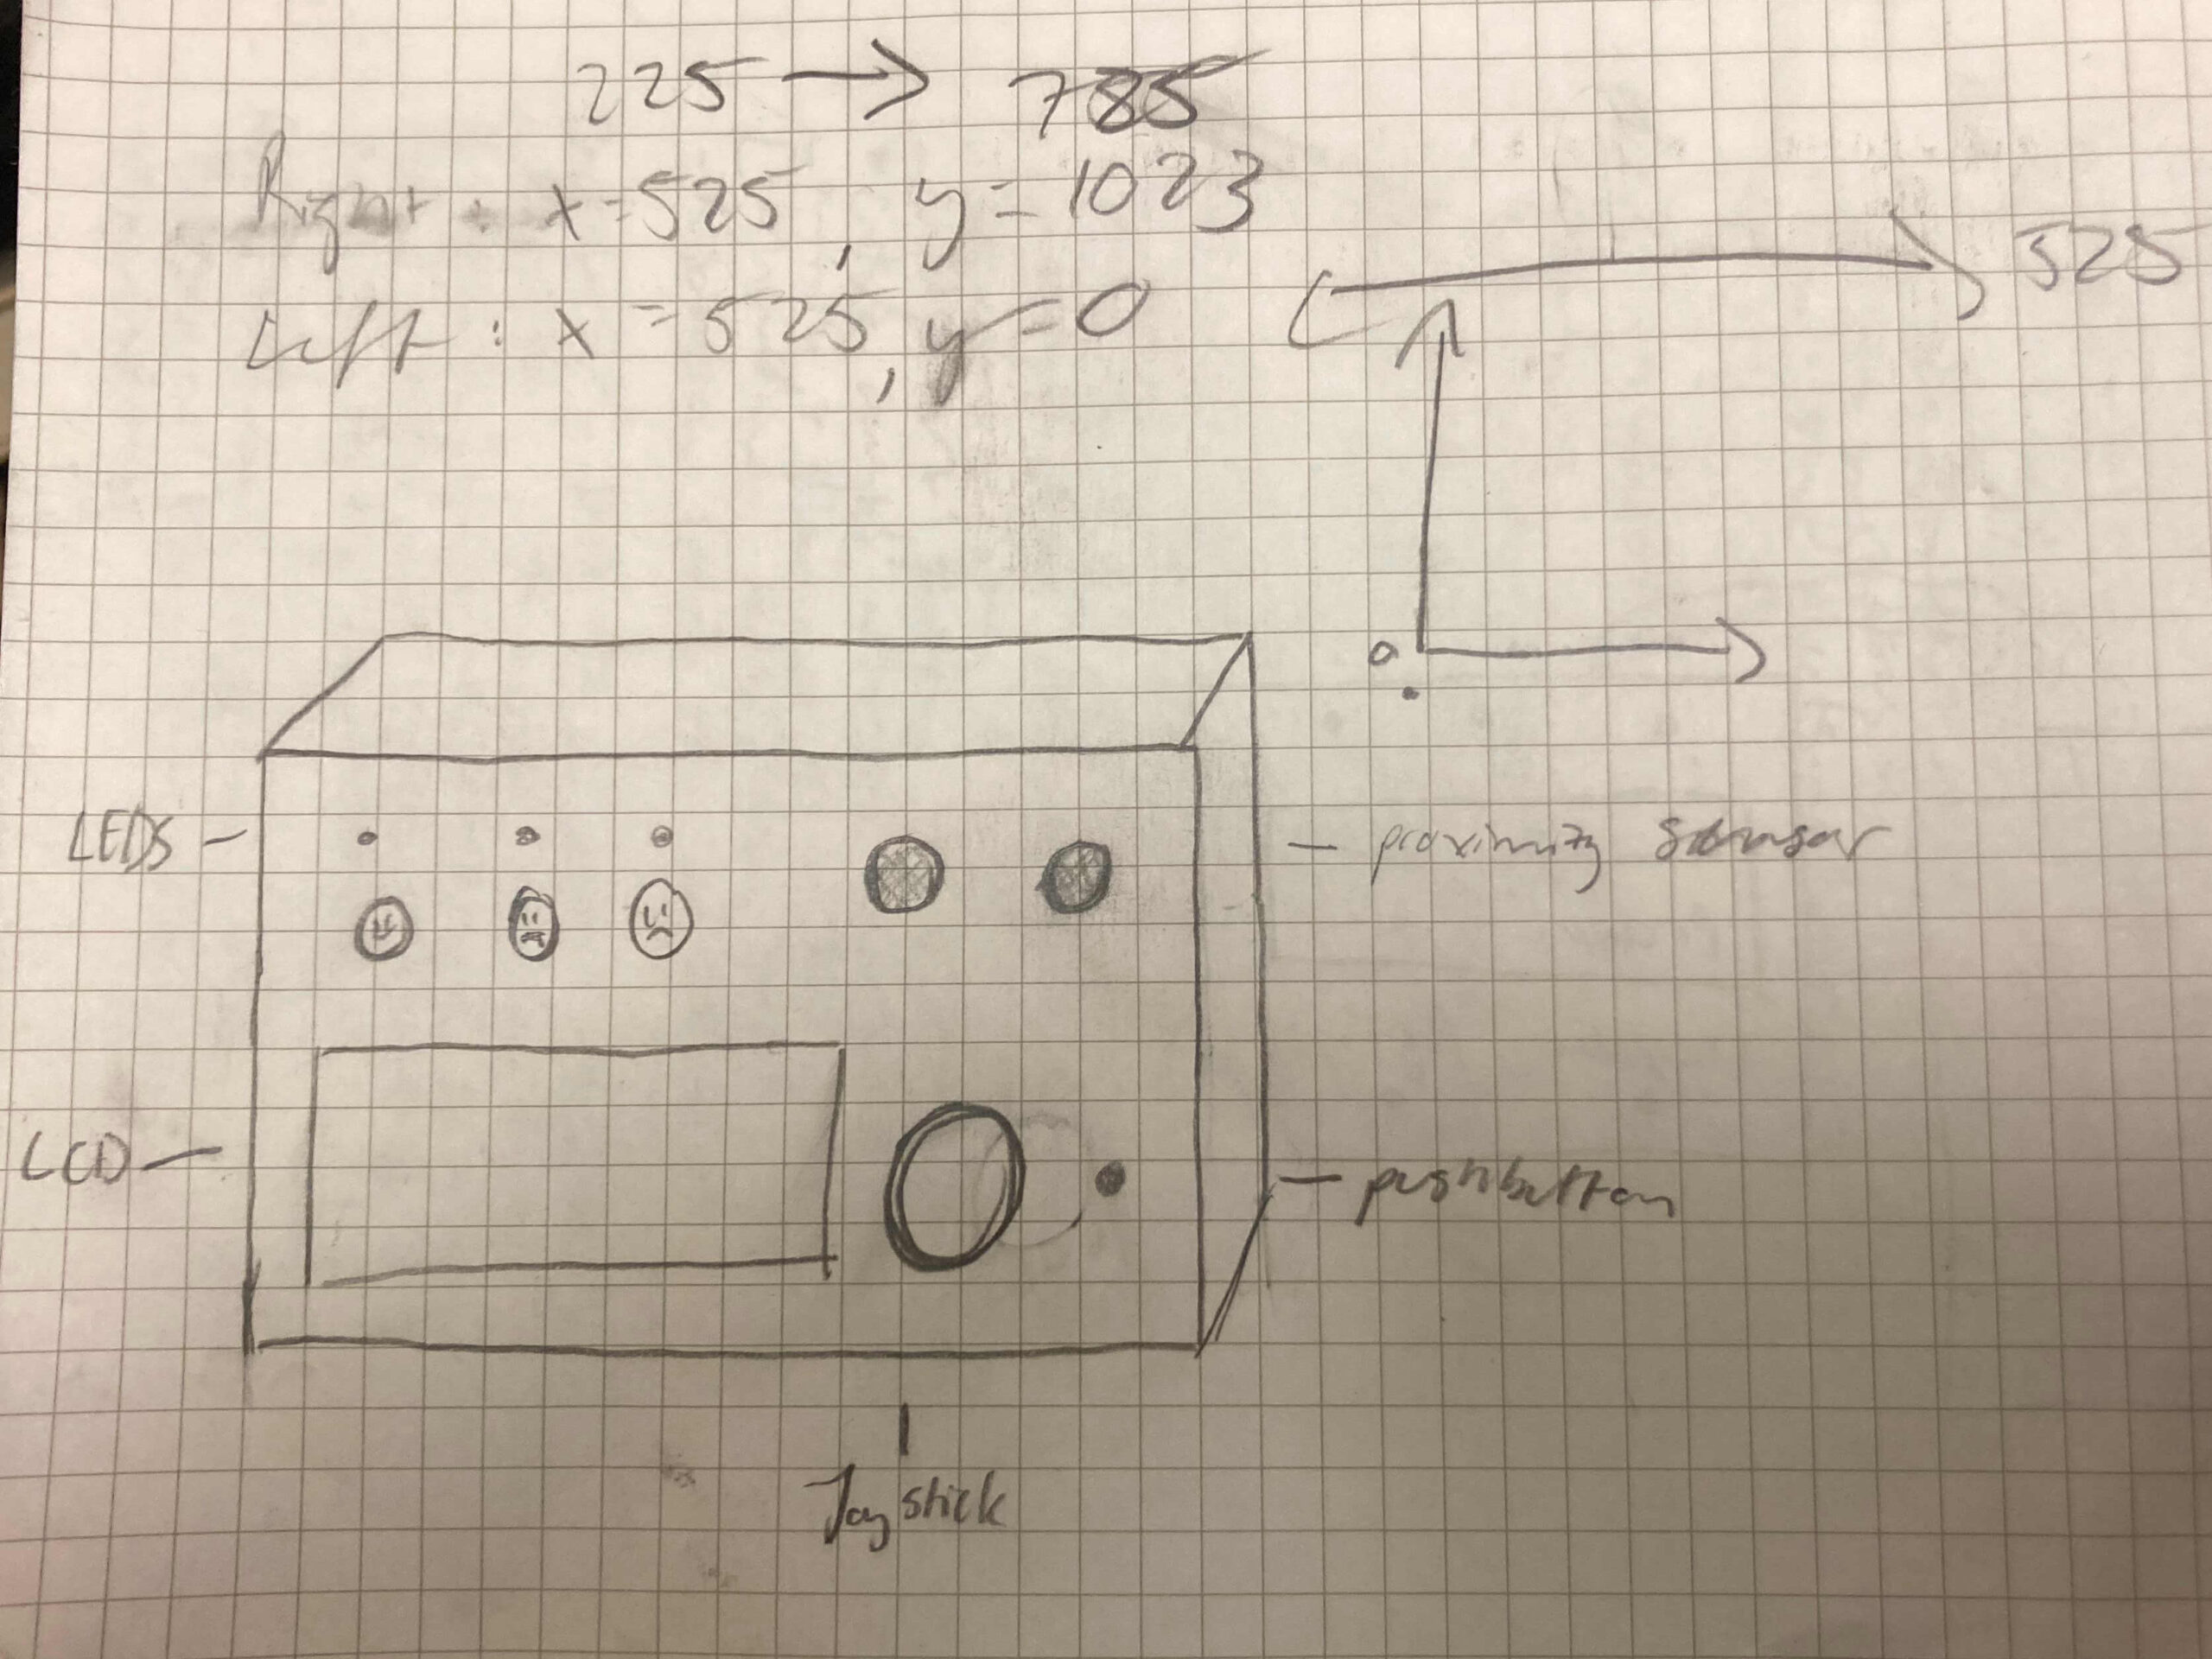
I knew I wanted to make use of 3 LEDs, an LCD screen, a joystick, and the ultrasonic sensor, all of which were incorporated into the final product, with the addition of a servo motor. I wanted the user to interact with the companion using the joystick, to give the user the ability to filter through responses.
Work
I began playing, firstly, with the joystick, then in tandem with the LEDS, and later adding in the sonar sensor. Once I incorporated the LCD screen into this work, I played around with this LED-joystick-LCD amalgamation:
As I progressed further and further into nested if loops, the code became harder to keep up with, one of the major struggles of this project. Moving on after a choice was made by the user, such as their chosen descriptive word to then that sequence of code, was not the hardest part. What really became difficult was within these sequences and making sure that things worked in order, though still giving the user an interactive component with the joystick. Very basically, to switch through different messages on the LCD screen, I used an if statement with thresholds for the joystick that equated to an inclusive right switch (with count usually starting at zero). So, if the person moved the joystick to the right, the messages would move.
if (225 >= xValue <= 725 && yValue <= 10) {
 lcd.clear();
 count++;
 if (count == 5) {
  count=0;
 }

 lcd.setCursor(0, 0);
 lcd.print(messageArray[count]);
 lcd.setCursor(0, 1);
 lcd.print(messageArray[count]);
}
delay(250);
My code is too long to go through each step, as I do not really know how to make it more efficient, though scrolling through might give an idea of the various sequences I mentioned earlier.
I kept the servo motor in the back of my head during the project, though I never gave it much thought during the process of coding, which gave me issues in the latter end. I did not incorporate it into the mix until I had constructed my casing and coded all the components of my project, even though this was my first time working with it. Given my time constraint, I had attached the motor to my casing before any testing, just to give an idea of how late it was incorporated. Regardless, a test (from here) on its own on pin 1 worked completely fine, though when added into the main code, it stopped functioning. I wondered if I had too many input pins established and went to see if it would work on an analog pin. This forum confirmed it would, though I do not know what the exact problem was. And it worked on analog! After that search, I created the function dispense( ) and placed it where the machine would need to dispense medicine.
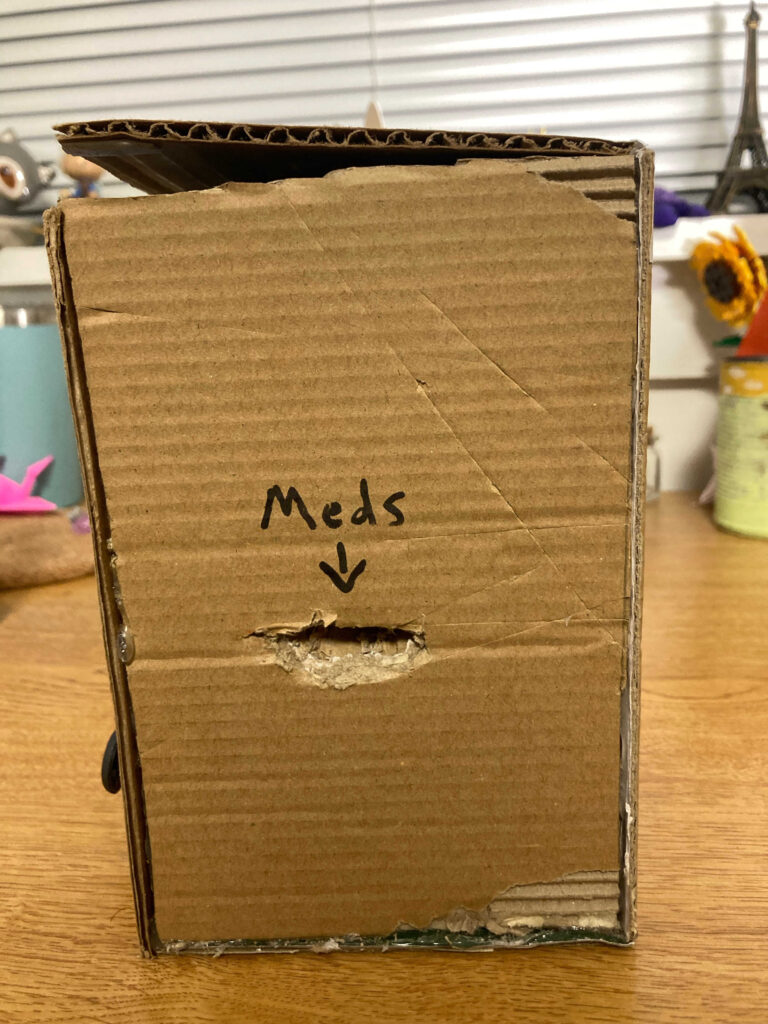
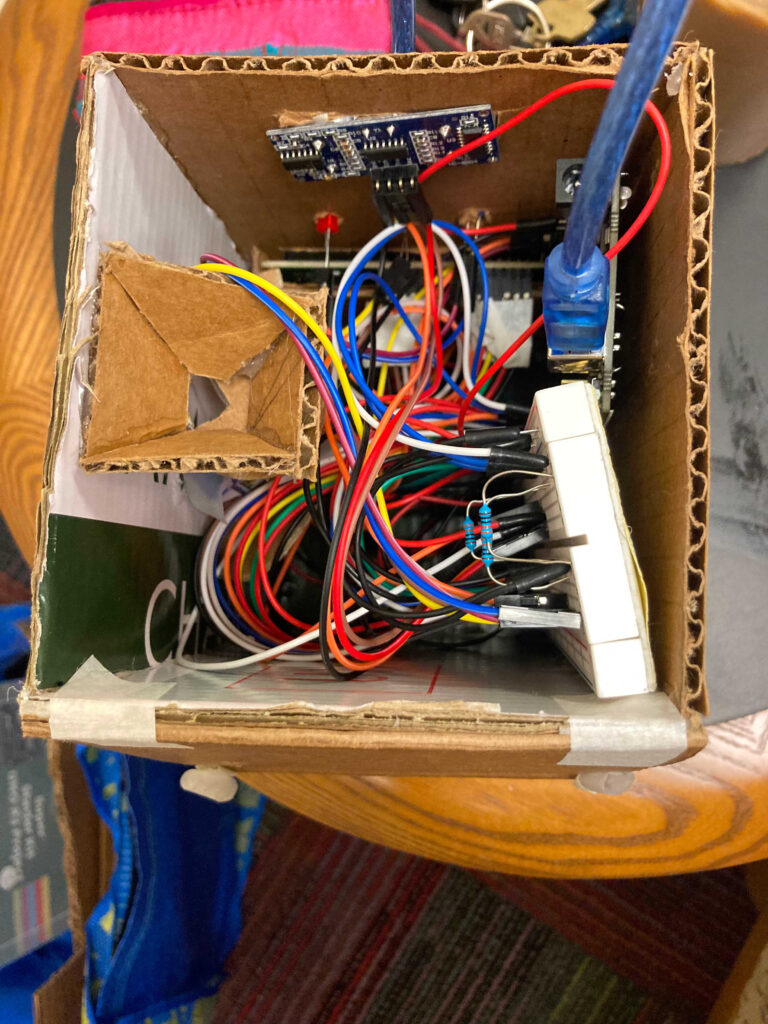
I had some problems with things acting up in their final place in the casing (such as a testy joystick). Also, the servo motor seemed to not function with the 5V battery shared with all of the other components, so the project needs to be plugged into a laptop for it to function (exposing the organs of the machine). The last thing is that I did not put an opening in for the dispenser until the very end, so it is very rough around the edges. Despite these final issues, the final product is close to functional.
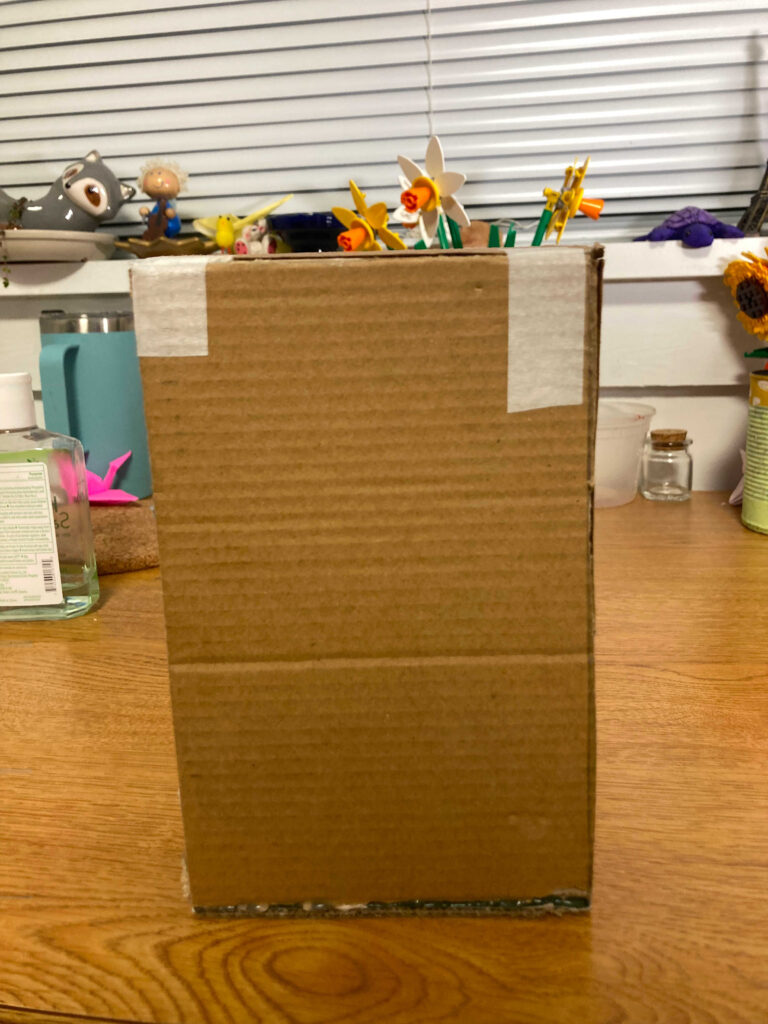
Final Product
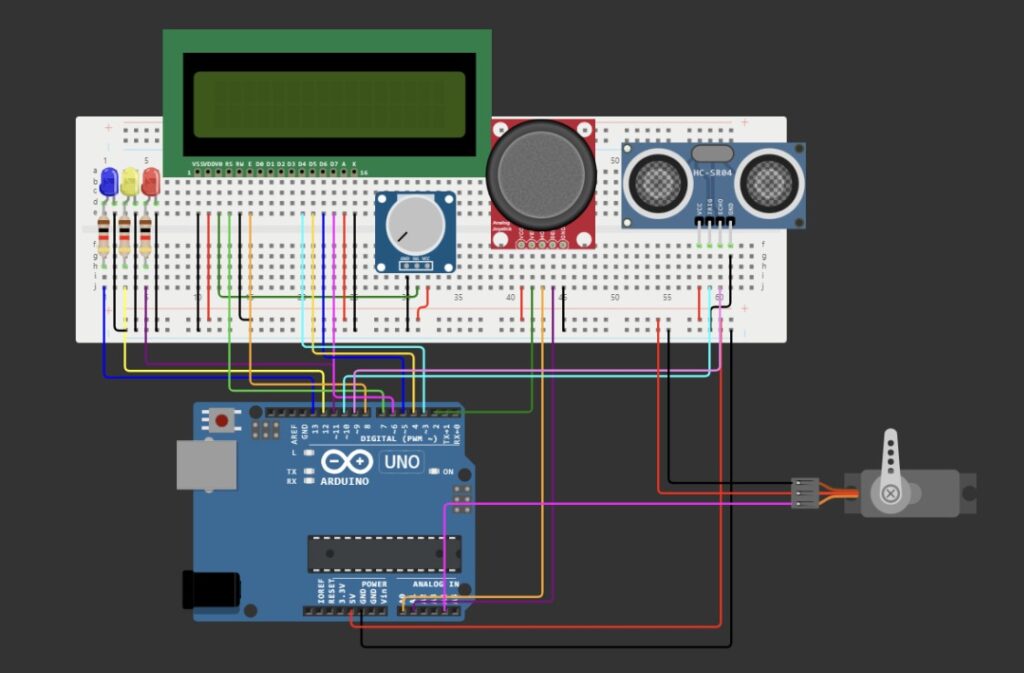
Here’s my wiring:
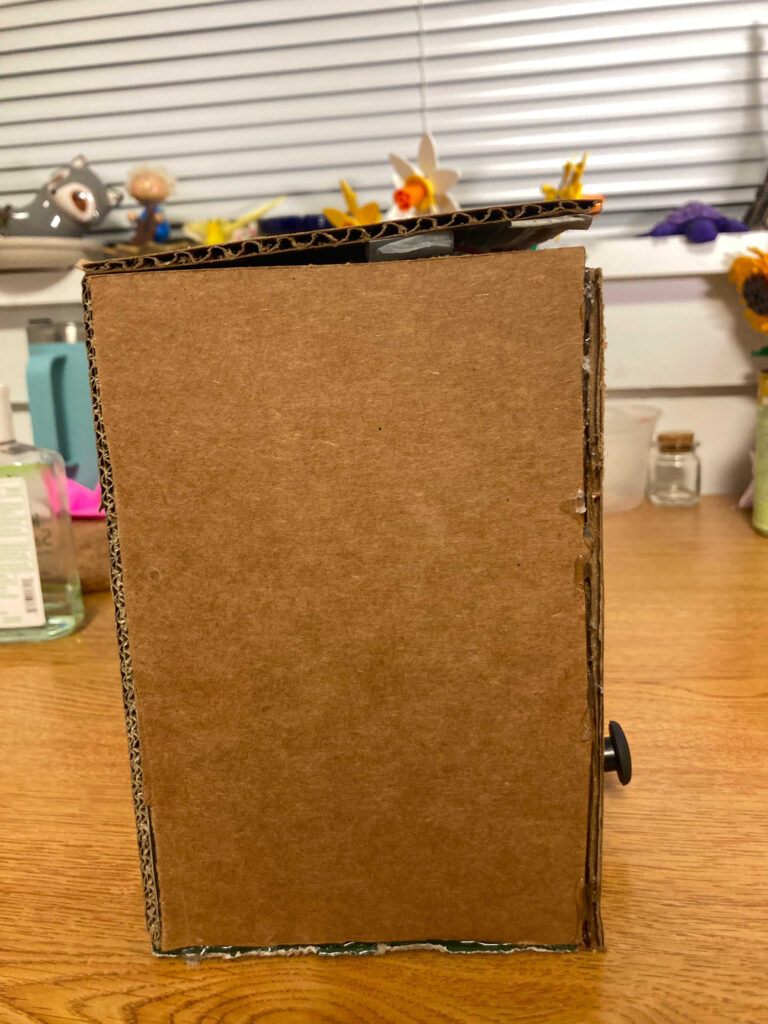
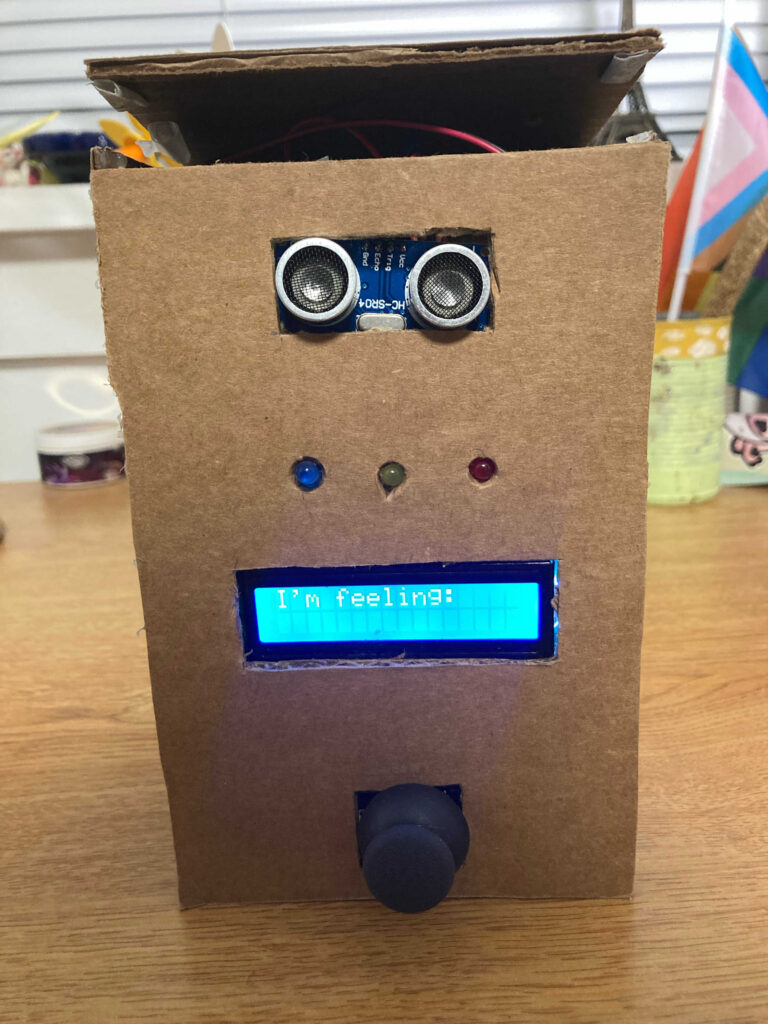
And images of the final product:

And videos too:
And, finally, links…
Joystick
- https://exploreembedded.com/wiki/Analog_JoyStick_with_Arduino
- https://arduinogetstarted.com/tutorials/arduino-joystick
- https://arduinogetstarted.com/tutorials/arduino-button-library
Ultrasonic sensor
Arrays
Servo Motor
- https://forum.arduino.cc/t/how-to-use-servo-motor-from-analog-pins/480553
- information on plugging a servo motor into an analog pin
- https://docs.arduino.cc/learn/electronics/servo-motors
LCD
- https://arduinogetstarted.com/tutorials/arduino-lcd
- https://www.arduino.cc/reference/en/libraries/liquidcrystal/write/
- for the lcd.write( ) function
Leave a Reply