Concept
In the year 2150, humanity, specifically, the US, is on its last leg. The climate crisis has only worsened through collective inaction fueled by the succession of incumbent governments in collusion with big oil, agriculture, and tech. The east and west coasts are now underwater, and the exodus—both from abroad and domestically—to the midwest of the US is only the beginning of the end. The billionaires, with their joint-private space exploration company, have finally found a planet similar to Earth in the Milking Way, 200 human years away. They are planning an escape as the Midwest becomes overpopulated. To live long enough to survive the journey and enjoy a life of freedom and prosperity on the new planet, they need to extend their life span through genetic modification. To fulfill this goal, they will need to collect billions and billions of DNA samples, which will be fed to an AI model that will optimize and create the perfect genome sequence.
How will the DNA samples be collected?
Simply by taking full control of food manufacturing, putting the whole country on the edge of starvation, and introducing Nutrio+, a propagandized food dispenser machine.
Every day people can now trade in their DNA—through hair, blood, saliva, etc.—for another day to live on a deteriorating Earth.
Process
The Process for getting this project to work can be separated into 2 parts.
- Get the Arduino to work
- Design the physical form
1. Arduino
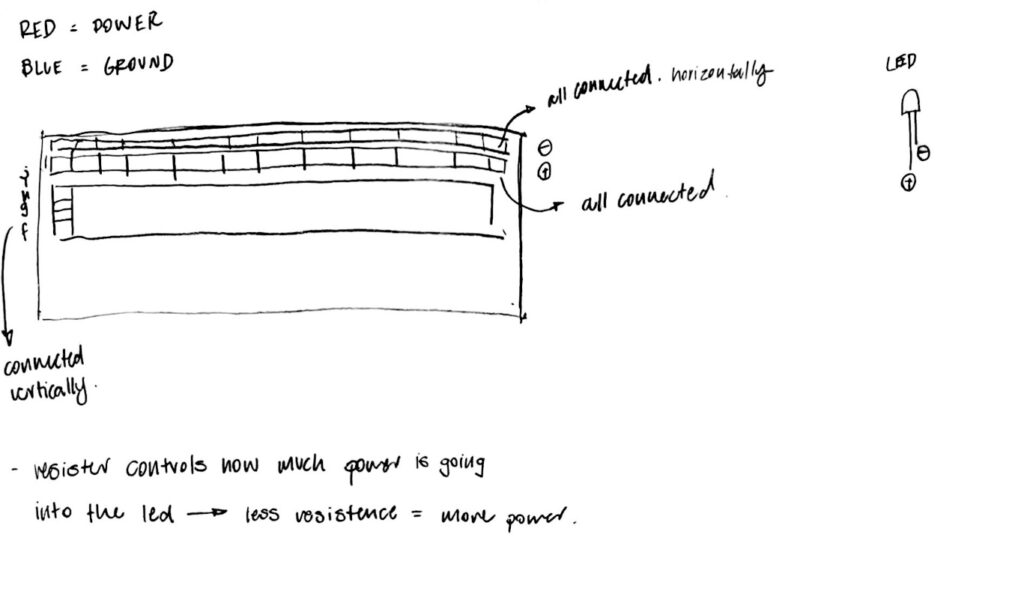
From the technical side of this project, the goal is simple: to use an FRID reader to detect an FRID tag and then trigger the servo motor.
To get accustomed to the Arduino, I started playing around with some LED and the servo motor.

Next, I moved on to trying out the FRID Reader.

Unfortunately, the FRID readers from the kit would not work 🙁

Luckily, I was able to borrow another RFID Reader from a friend, which worked well!

With some sample code from the Adafruit library I downloaded, I was able to get the servo motor to turn once the tag is detected.
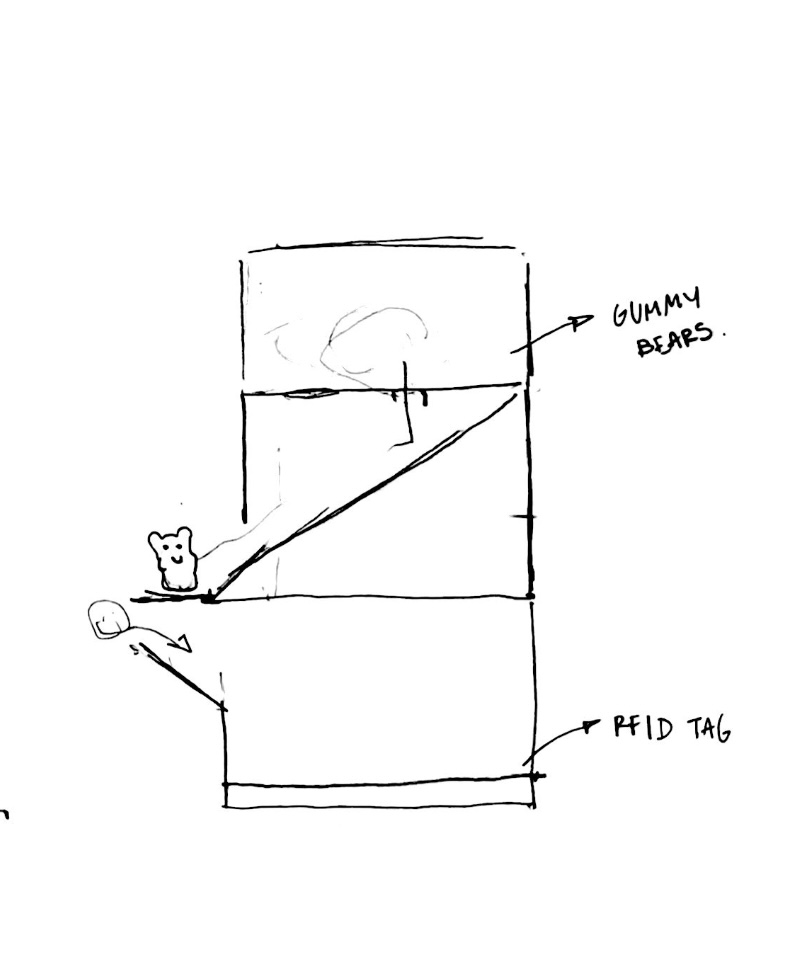
2. Physical Form
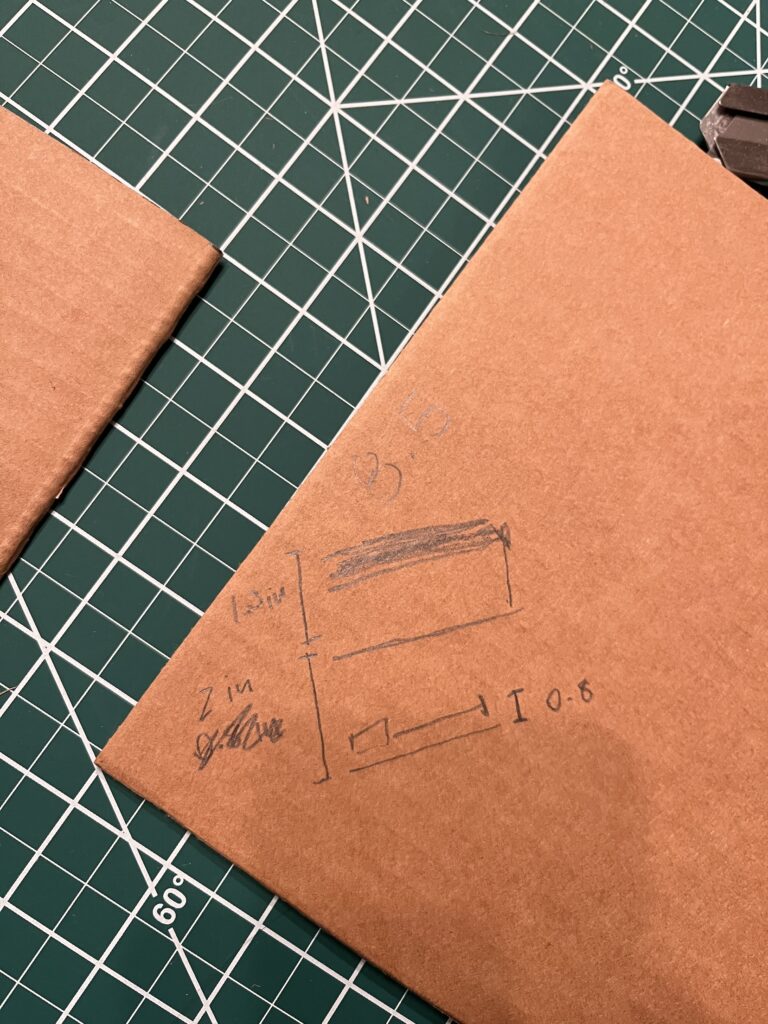
To create the form of the dispenser, I started with a rough side profile sketch.
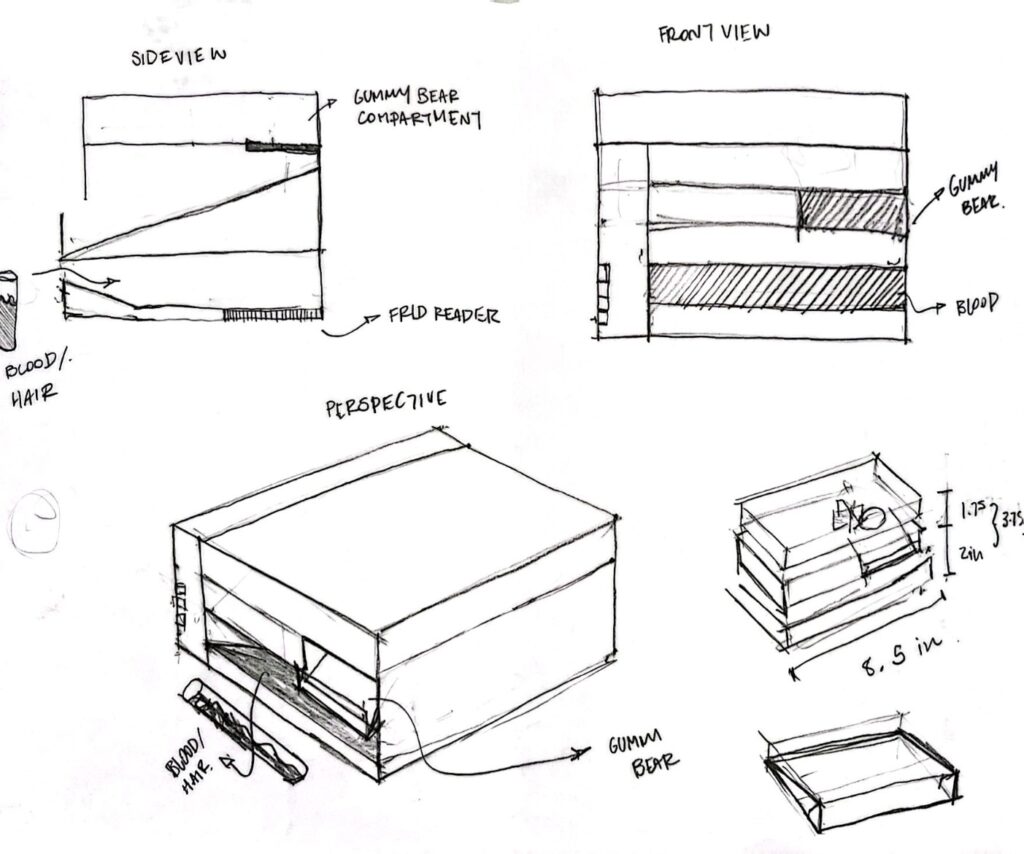
I then refined this side view sketch to get a more accurate propotion of the dispenser. Next, I sketched out the front and 3/4 view. This process helped solidify the form of the dispensor in my mind.
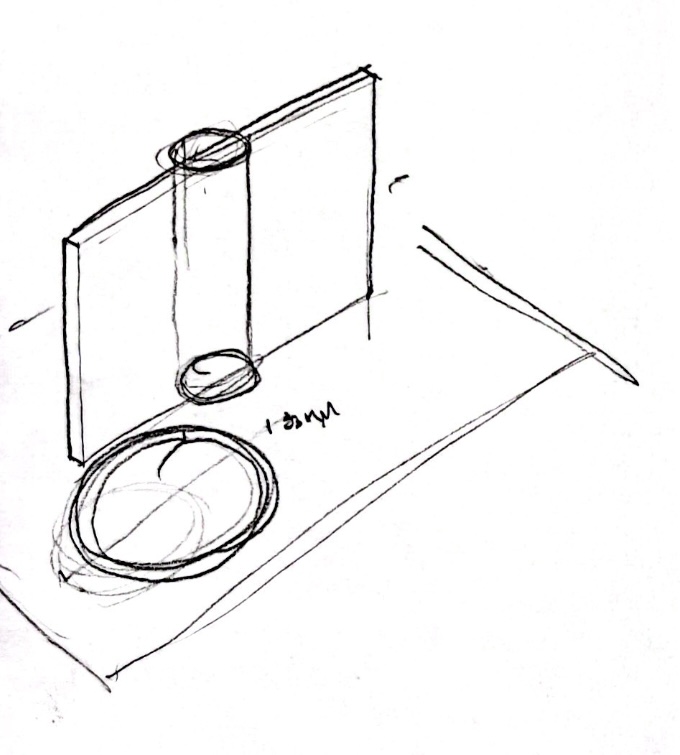
This final sketch shows what the propeller in the gummy container could look like.
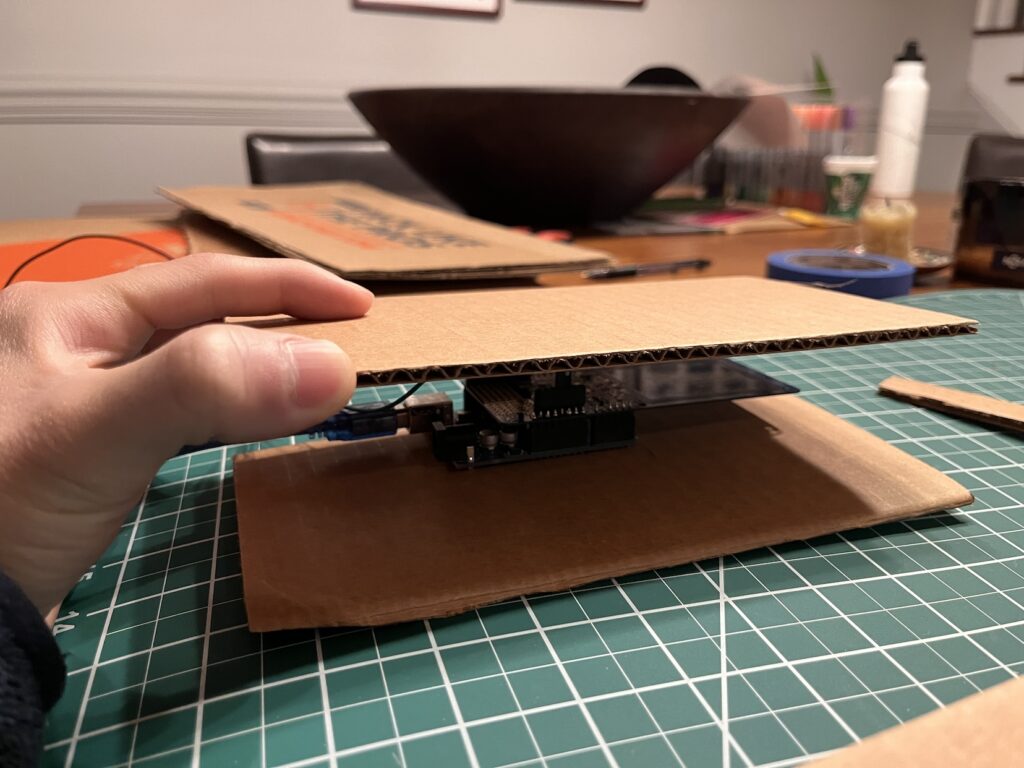
I made a simple cardboard prototype to get the exact dimensions for the Arduino to fit in the dispensor.
After the cardbaord prototype, it was time to model the dispensor in Fusion 360


Thank you to my friend Ian for guiding through this process, especially with helping make the pieces friction fit and making the ramps as good as they are 🙏🏼

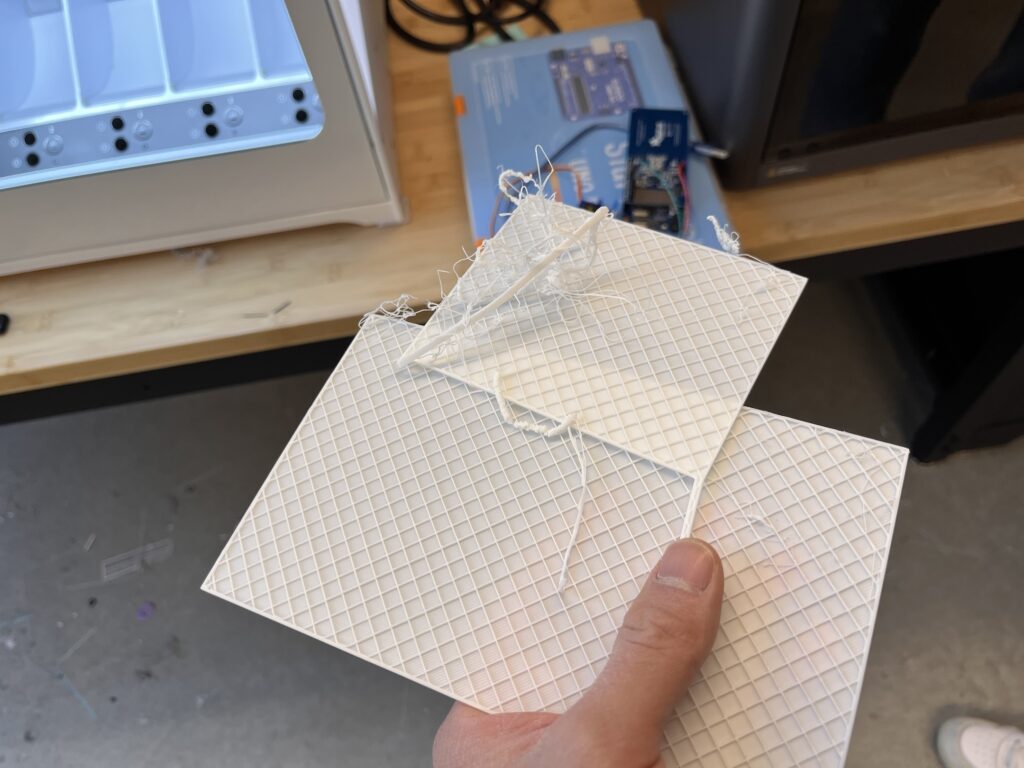

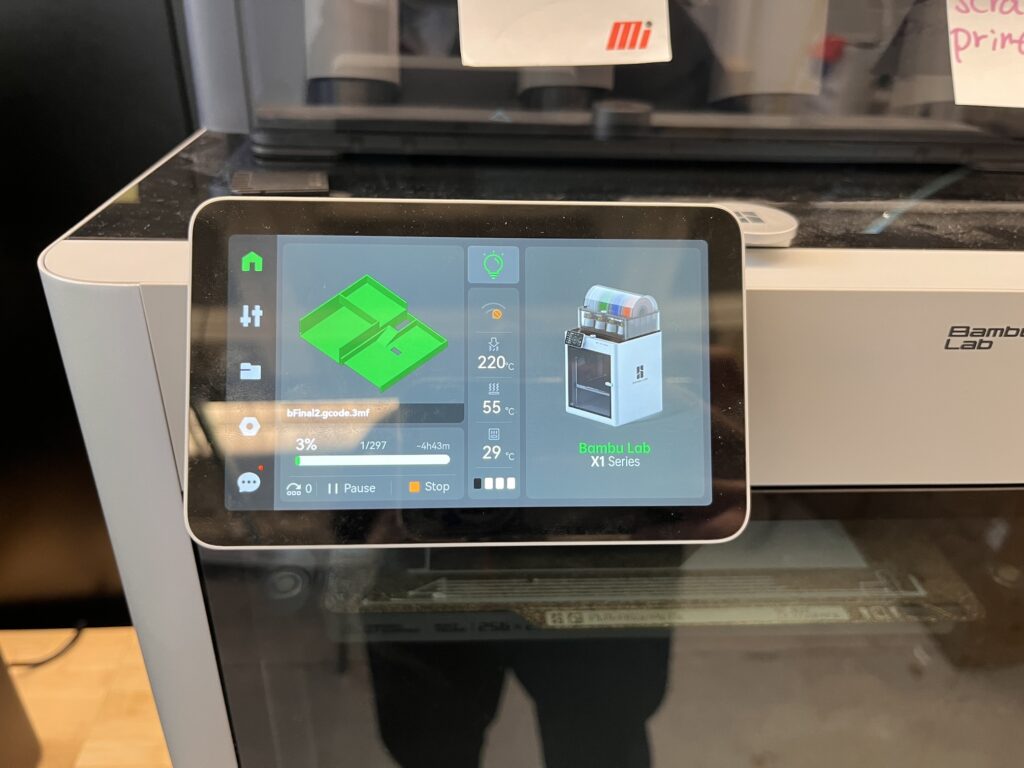
Overall print time took about 9 hours. Thanks to my friend William for helping me through this process and keep me calm when I had to throw the prints out multiple times. 🙏🏼
Final Video
Leave a Reply