The Concept
I’m imagining a future where women run the world, much like Gerwig’s 2023 hit film Barbie and Wonder Woman’s Themyscira, an island solely inhabited by powerful Amazonian women. And so in imagining this magnificent future where women hold all the power, I pondered what could could possibly need resolving? The answer—an outlet for man’s rage.
I associate society as we know it, which has historically been dominated by male leadership, with being obscenely violent. We’ve existed in a world marked by death, conflict, and aggression. And in considering my future female-led utopia, I don’t expect these instincts to simply disappear. Hence the inception of Tantrum Treats: an outlet for men to channel their anger while simultaneously being reminded of the triviality of such impulses.


I began conceptualizing a device that would react to one’s anger. Initially, all I knew was that I wanted the system to be activated by yelling—the most visceral expression of this emotion. Through conversations with peers and Dr. Nitsche, I eventually settled on a device that visualizes anger through a severity scale meter and corresponding LED lights. That’s when Dr. Nitsche made a comment that my idea reminded him of the old saying that men are like dogs. This expression, to me, refers to the male inability to control their primitive feelings and their constant craving for validation. Cue light bulb. I decided that once the device reached a certain ‘anger’ threshold, it would dispense a treat. I enjoyed the irony of this interaction. By rewarding the participant for their ‘tantrum,’ I felt it would emphasize the belittling nature of the system. Naming the device ‘Tantrum Treats’ only fueled that message.
The Process
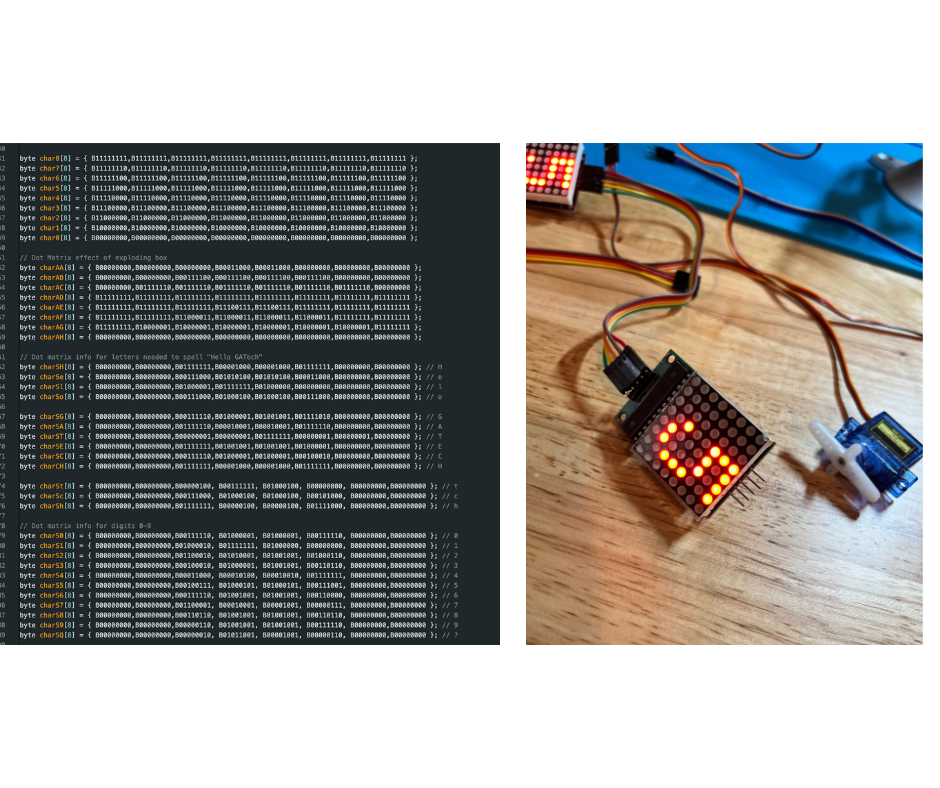
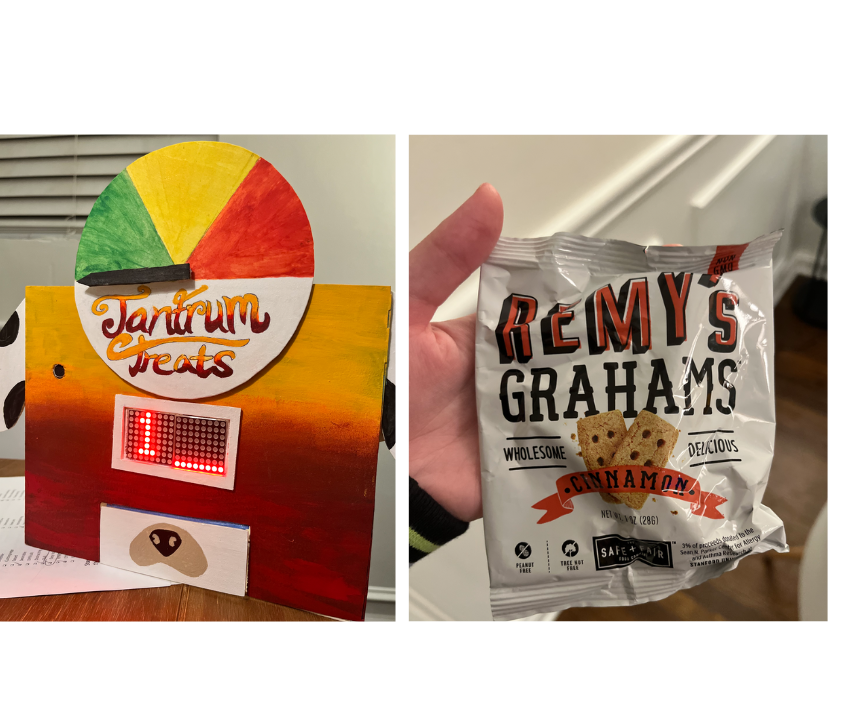
On the surface: the device is composed of two servo motors, two LED light panels and a microphone. When the participant screams into the device and surpasses a certain input threshold (coded to range from 0-1023) the needle on the wheel will move. When loud enough (input over 900 constitutes a ‘winning’ reaction), the needle will reach the red fraction of the wheel and the LED lights display a sequence of moving pixels. Then, the second servo motor props open the door to reveal a ‘treat’, or in this case, a graham cracker that looks suspiciously similar to a dog treat.
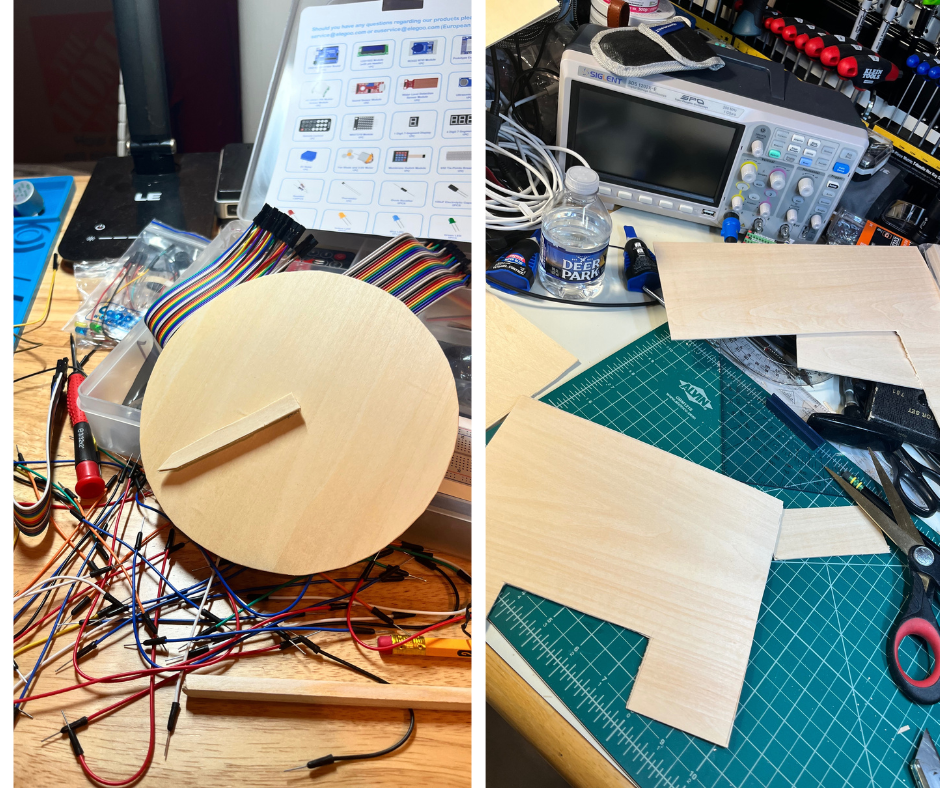
Though seemingly easy, the process proved to be a bit more difficult. And interestingly enough, not in the way I initially expected. Despite the arduino components itself being most initially daunting to me, it was the actual assembly and execution of the visual design that proved to be most difficult.
This project required great deals of problem solving. The three biggest issues that arose were 1) how do I possibly get the mic to stay in the upright position required for participants to engage with it? 2) how can I get the servo motor to prop open the door? and 3) WIRES WIRES EVERYWHERE!!!!
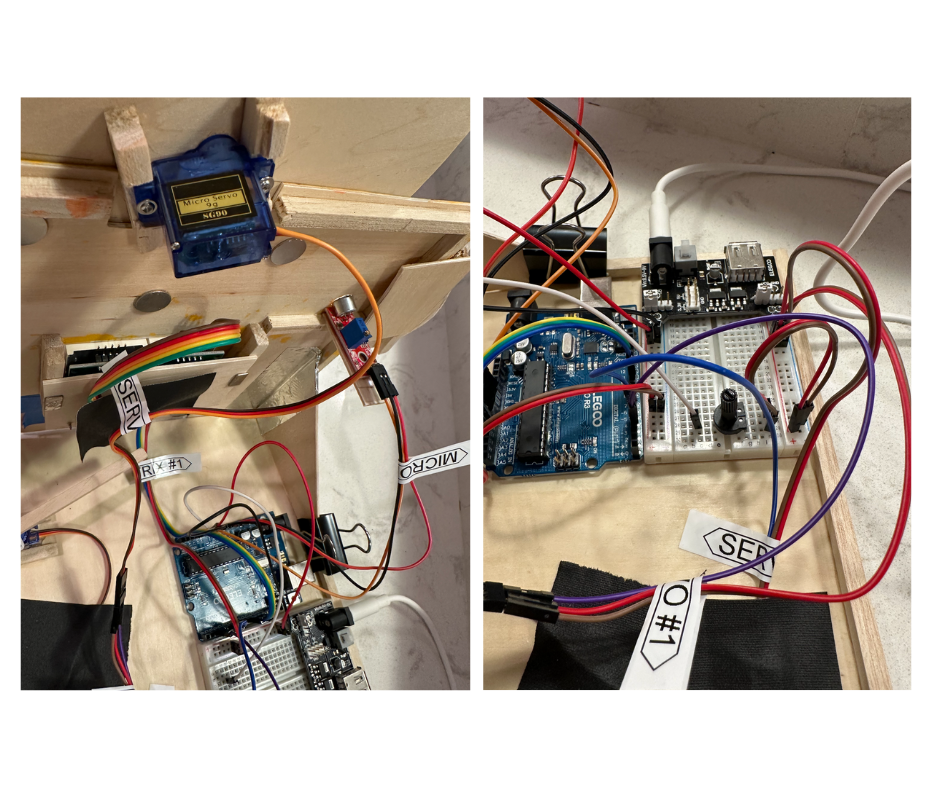
I ended up solving #1 by attaching an additional piece of balsa wood on the device to keep it aligned with the designated hole I had cut as well as using gorilla glue tape to keep it in that position despite it being incredibly top heavy. #2 was quite the puzzle. As it turns out– I had been overthinking the mechanics. Where I originally imagined I would use an additional servo motor to pop out a treat, I landed on just using a piece of balsa wood to bang into the trap door to reveal the reward. Perhaps in a future iteration I would experiment with bringing my initial idea to life but I did not have the time to do so in this round. And #3, the wires became an issue for reasons beyond just aesthetics. They interfered not only with how I attached the LED lights to the device but also with the servo’s ability to open the door. Grouping labels and tape became my two best friends in resolving the problem
Also, I packed my arduino kit in my luggage and brought it home with me to Virginia to work on while with my family while on break. Sure, great idea in theory. However, the reality meant that whatever I managed to create I needed to be able to bring back with me to Atlanta.
This resulted in the entire system needing to be packable. I accomplished this by adding magnets to all connecting components of the device so that I could completely disassemble it. This means that the wheel was connected to the front panel via magnets, the LED display was attached to the front by magnets and so was the large-front facing panel to the ground board.
Oh and the best part? Taking this through TSA and sweating bullets out of fear that the loose wires and countdown component might give someone the wrong idea….
Not pictured is the blood smear on the back of the device from a razor blade cut gone wrong. Needless to say blood, sweat, and tears went into this.
Description of Mechanics:
Final Result:
Leave a Reply