PART ONE: THE IDEA
1.1: The Problem
With each year the world gets increasingly digital, and the impact of that is felt in all aspects of life: our habits and behaviors change as we adapt to a landscape marked by constant technological advancements. This is true even with our creative habits, as the advent of AI and other digital interventions into the creative space have augmented the experience of art for both consumer and creator.
In the world of music, this is easily seen by the convenience of creating music–almost anyone can get access to a digital audio workstation (DAW) and can create a symphony in their bedroom using only virtual instruments. They are able to write, record, produce, mix, and master their songs themselves. They can perform their music online through live streams to everyone and no one. This is not necessarily a bad thing: the democratization of music allows for more people to fall in love (and occasionally hate and become frustrated with, from time to time) the music-making process. It is not digital intervention conceptually that is the problem, but rather the implementation.
And the current implementation can often lead to a lonely, individualistic process. Why hire a guitarist when you could pull up the Shreddage 3 VST? Why get in the studio to track some drums with your friend when Logic Pro X has an automatic Drummer built in? Why labor and argue over chord progressions with your bandmate when ChatGPT can create the whole structure of the song for you before you can even express your distaste about the I-V-VI-IV progression?

In this future that I have envisioned, these digital tools and interventions in the music-making space have made it so that collaboration and connection in the creation of music is fleeting. People focus on virtual entertainment and seldom have face-to-face interactions, much less congregate to create and perform music together. Loneliness and isolation are at its peak, practically clipping the Stereo Out, and the community aspect of music is nowhere to be found.
1.2: The Inspiration
Before I even knew what my problem or solution should be, I knew I wanted it to be something music-related (which was likely to the surprise of no one). The obvious solution would be a musical instrument, but I felt the instrument itself would not have enough rhetoric behind it, so admittedly the ideation process took a really long time. The first ideas of what could be possible came to me from Liza, who showed me this product by Teenage Engineering:
It is essentially a choir made up of wooden dolls that sing when triggered by a MIDI keyboard. This gave me the idea of creating some sort of choir or orchestra, which would then involve multiple singers and/or instruments. During this time I started to develop the problem space and center it around community and connection and collaboration, and so I thought it would be cool to focus on audience participation and allow them to somehow trigger sounds using the sensors in our kit.
Though the rhetoric was clear now, the actual sensors I would be using weren’t, and this was an issue that plagued me even up to the final week of the project. Having never used an Arduino before, I wasn’t really sure what was feasible with the sensors, and I also was not completely sure on the type of musical output or which instruments the sensors should imitate. Luckily, with help and feedback from my classmates and the professor, I was able to narrow down what sensors would be most practical.
1.3: The Solution
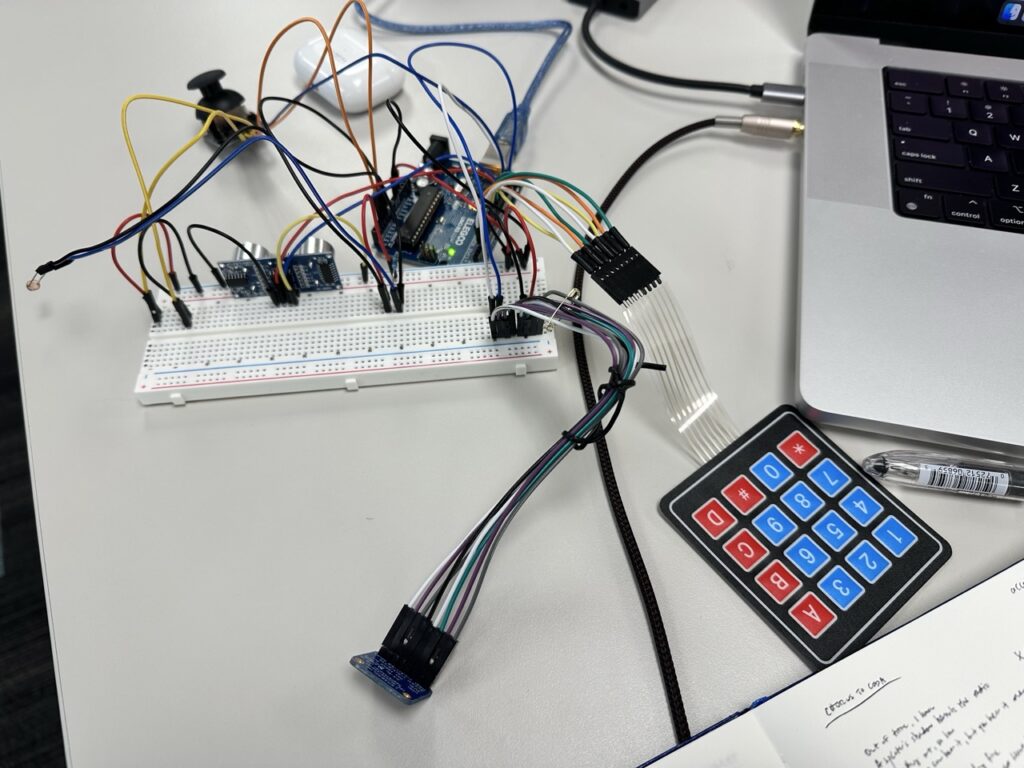
What I eventually landed on was a music-making device consisting of five sensors: a photoresistor which triggered the drums, a membrane keypad which activated piano samples, a joystick which adjusted the rate of synth arpeggios, an ultrasonic sensor that detected physical proximity to the device, and an accelerometer which acted as a conductor’s baton and also an effects generator. The music itself is generated through p5.js, partially through synths from the Tone.js library and partially from samples. These components together created a sort of mini orchestra that encourages in-person, real-time music collaboration.
This object addresses the problem of social isolation by requiring people to gather around it to engage with the sensors and perform the music together. The users’ inputs into the sensors affect their own instrument sounds as well the sounds of the other instruments, thereby creating this connected network of sound. By having these various sensors, it also prevents solo music-making and encourages group collaboration (even with two people using it, it can be difficult to play all the instruments at once). The idea is that technology, as mentioned before, is not inherently evil, but rather how it’s used, and what I intended with this solution is for the technology to amplify human connection and collaboration.
Performance
Luckily for me, since music is already such a performative medium, it was easy to perform the object, as the audience members are able to interact with the sensors and also affect the sounds of other players. Another large aspect of the performance is the audience’s physical presence over the object; with the sensors so close to each other, the players have to stand close to each other and the object to play with the sensors. With the accelerometer, the user has to move the sensor close to the breadboard to get the clearest sound. Also, the music won’t start until the players approach the object (detected by the ultrasonic sensor), so the interactions all contribute to this aspect of collaboration within the same physical space.
Arduino Components
- Arduino UNO R3
- Breadboard
- Accelerometer
- Joystick
- Membrane Keypad
- Photoresistor
- Ultrasonic Sensor
- Jumper Wires and Resistors
PART TWO: THE DEVELOPMENT
2.1: What’s all this then
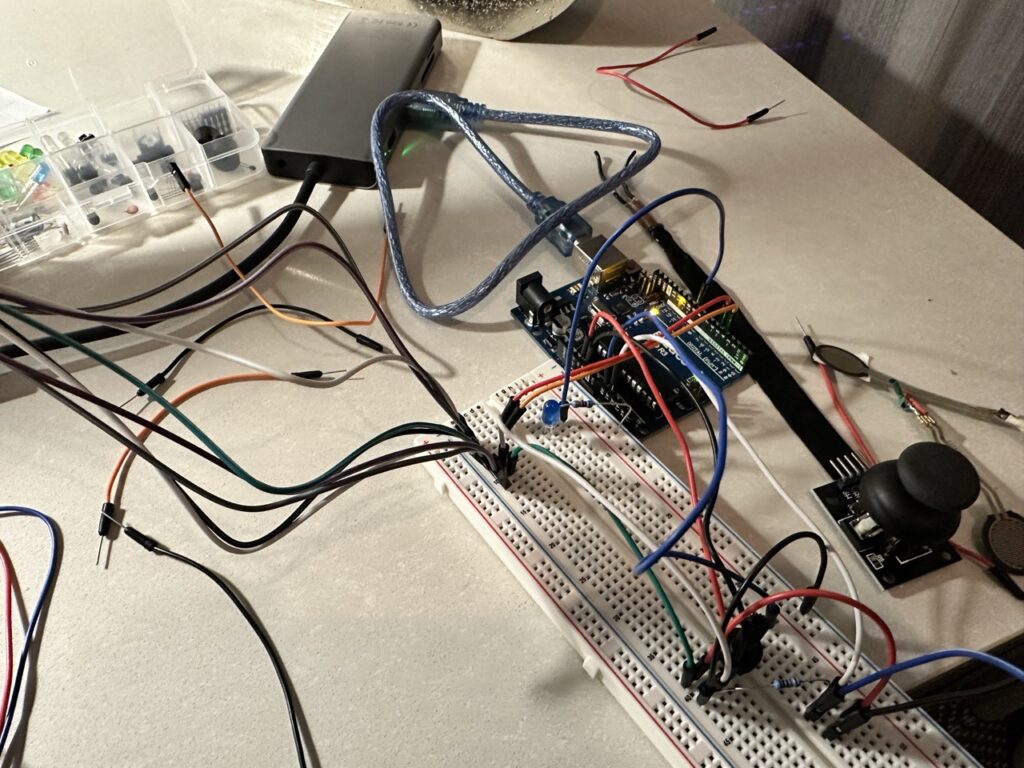
I may have been in a constant state of panic while working on this. During the last lab session with Supratim I tried to go back to our first week ultrasonic sensor code and could not get it to work so that was not a good look for me. So, the first step in the process was just getting familiar again with how all the connections and wires worked with the Arduino. I followed a guide on getting a potentiometer to light up an LED, which helped me remember how everything worked, though it resulted in some nasty wire management.

2.2: The photoresistor
The first sensor I wanted to try was the photoresistor, as the professor had mentioned it as an interesting option to trigger sounds. Since it takes in a range of values, I originally thought it could be the synth arpeggiator; I also thought it could be the lead melody, with the note depending on where the sensor value is in the range. It wasn’t until adding the sounds into p5.js that I decided upon using it as the drums. It still worked with the range however, as the drums could play more complex beats as the light gets closer the sensor, and it also works better when you move the light across the sensor rather than face the light to the sensor head-on.
2.3: Fighting the flex sensor
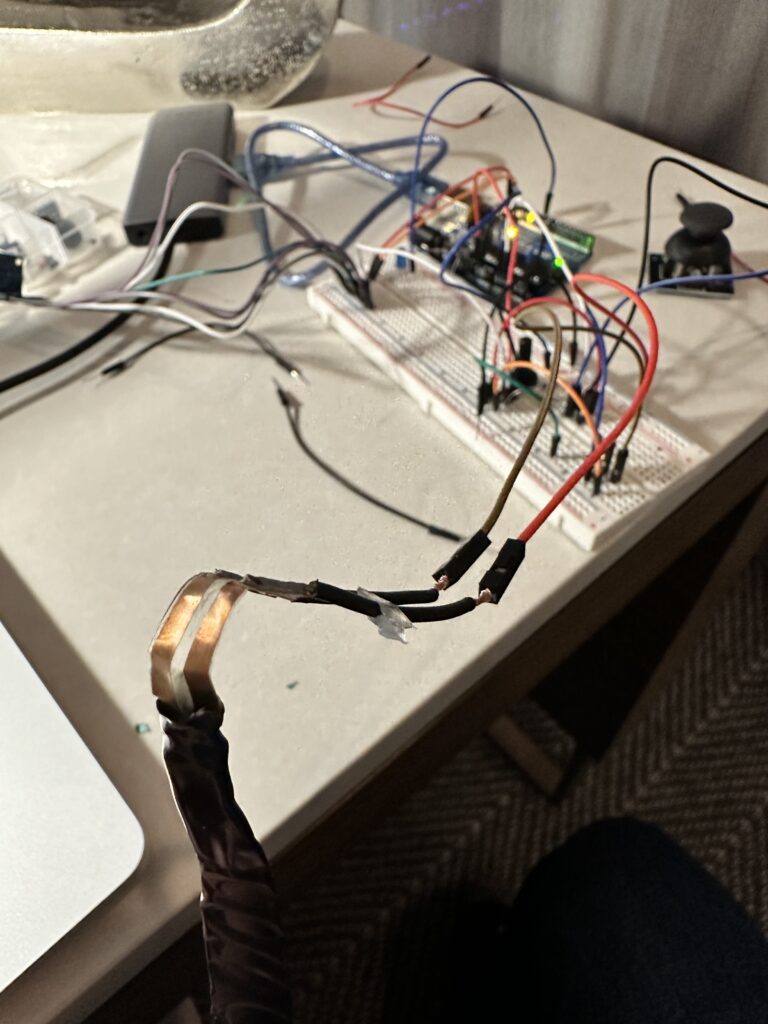
I thought the flex sensor would be a cool instrument, as the bend action could act as a sort of pitch bend. However, I didn’t know how to solder, so I was having some trouble connecting this particular flex sensor to the breadboard. I used scissors to cut the insulation around the wire so that the wire could be exposed, and then put those wires into jumper wires that went into the breadboard. I then followed a guide on connecting flex sensors. There was a time when it worked and was actually giving high values when I bent the sensor.
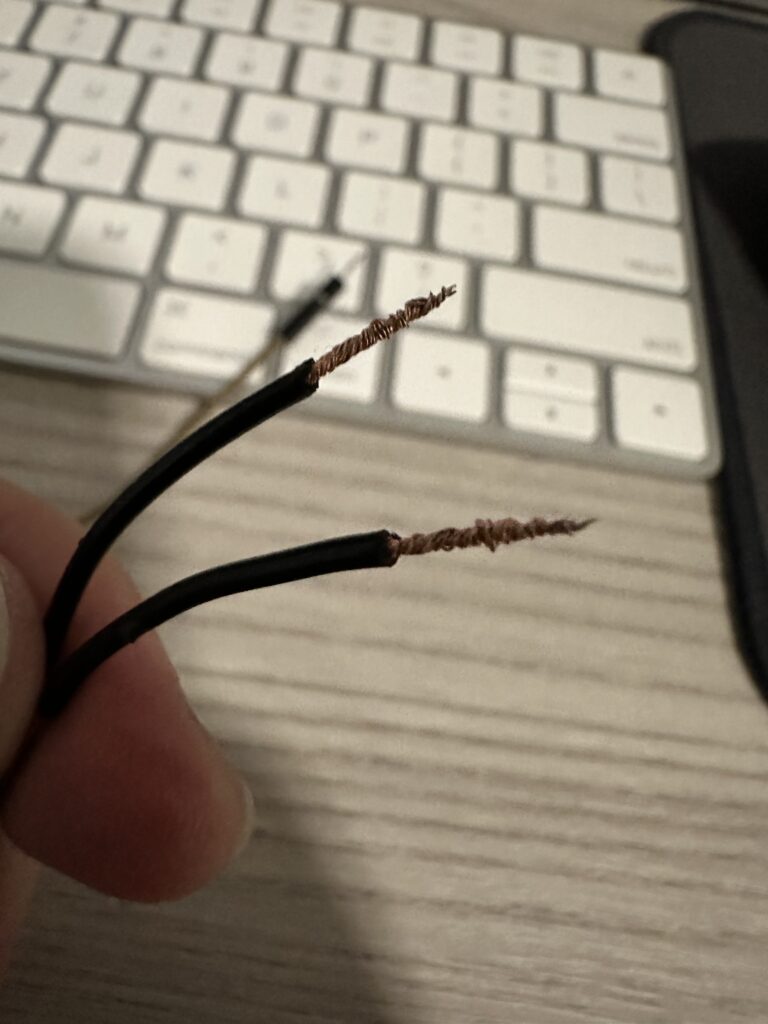
2.3.5: Losing the fight to the flex sensor
That time didn’t last for long. Connecting the flex sensor in this way was not very reliable, so I decided to ditch the flex sensor. This was a double-edged sword, as I later replaced it with a sensor that was more versatile in its output but arguably less performative.
2.4: The accelerometer
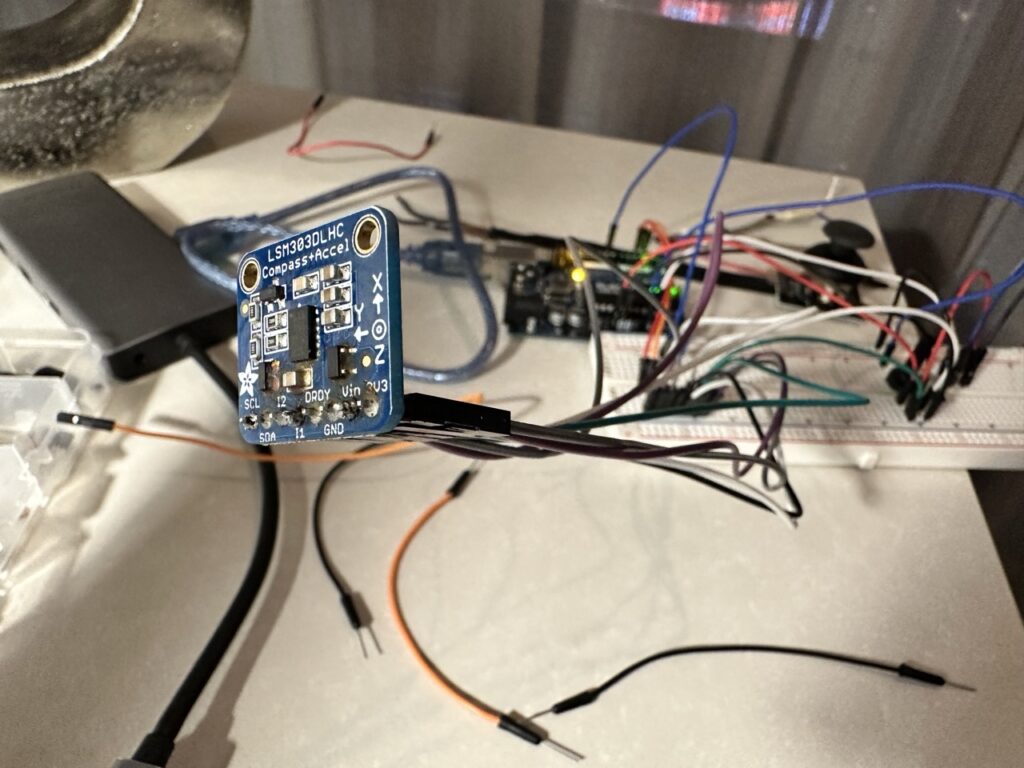
Connecting the accelerometer took a bit of effort, as I had to find the specific model of the accelerometer and then install a library in the Arduino IDE and then import that into the code. Luckily with the help of this guide I was able to get it working. While messing around with it and seeing how the output values for the X, Y, and Z-axis changed, I got the idea to use it as a sort of conductor’s baton, as a way of connecting all the instruments together. It did take until the p5.js coding process to finally decide on what musical effect I wanted each axis to control.

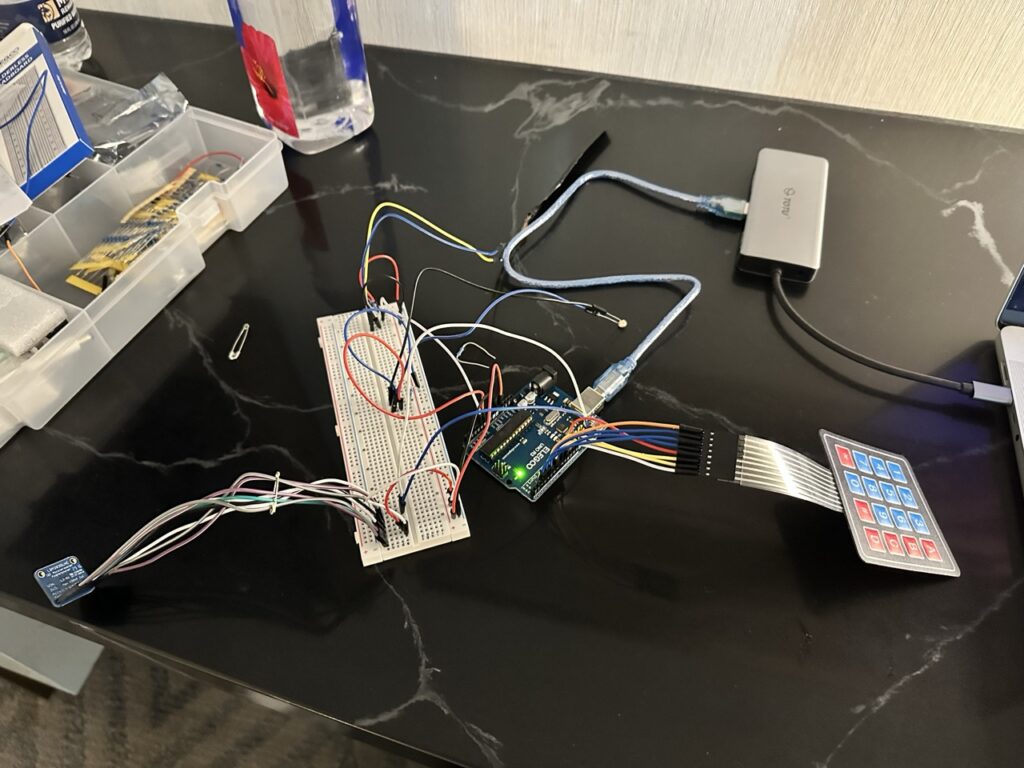
2.5: The membrane keypad
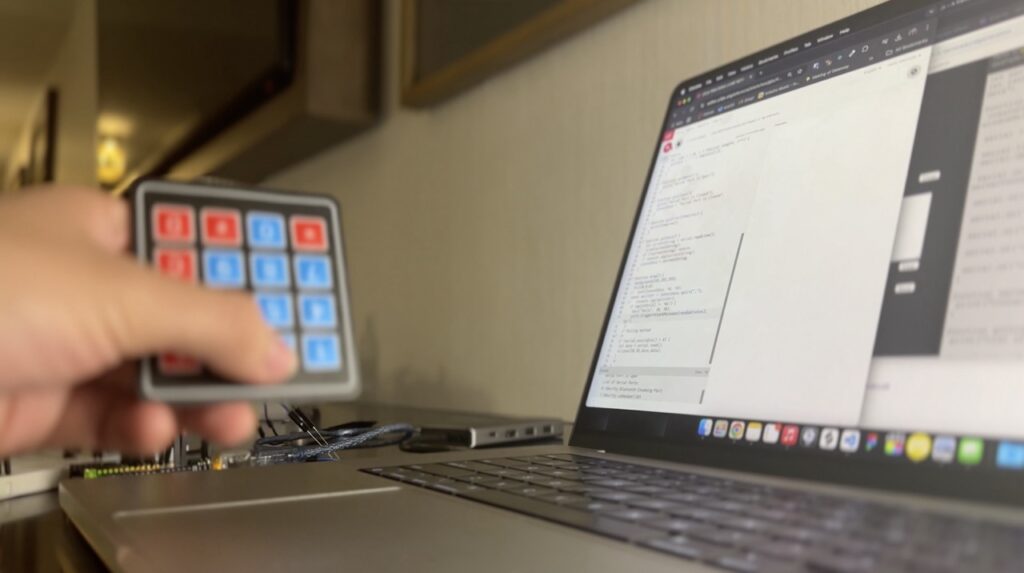
The keypad also required some extra imports into the Arduino IDE, but thanks to yet another online guide I was able to get this working pretty smoothly. At first I just tested if the Serial.print() statement would change if a key was pressed, and then I changed it to output the exact key so that I could have more flexibility using that as an input in p5.js.
2.6: The joystick
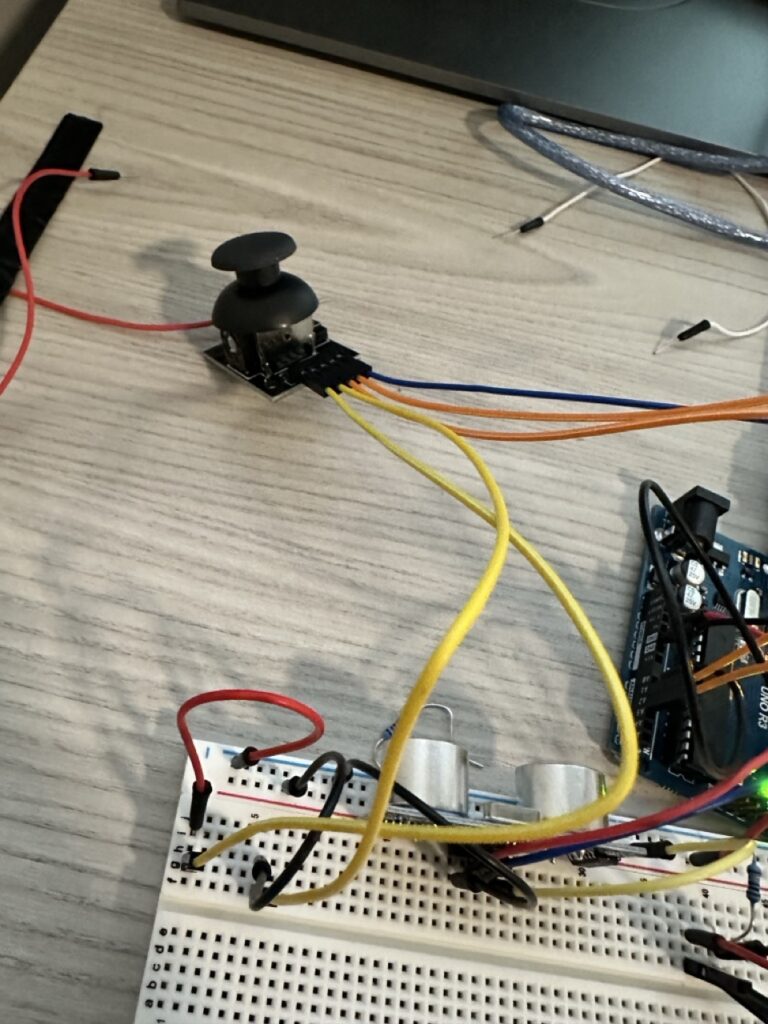
The joystick was simple enough to connect, especially after going through the trouble of connecting all the other sensors. I thought this sensor would work well, since everyone knows how a joystick works, so the ease of use is there and then it is just up to them to explore what each movement does to the music. I decided upon this being an arpeggiator that would play a series of notes at a certain speed depending on where the joystick is positioned.
2.7: The ultrasonic sensor
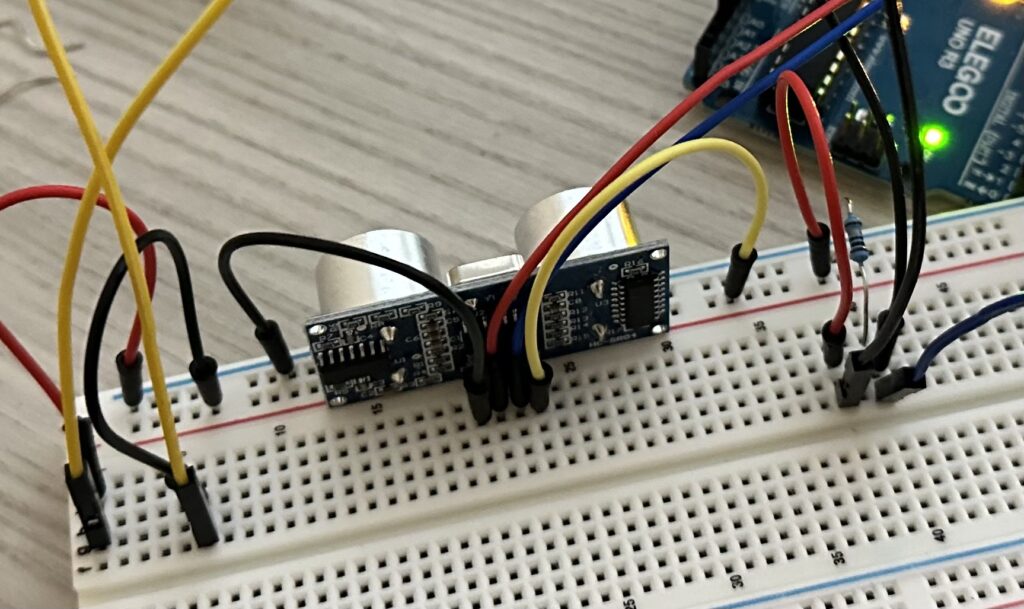
I finally got my revenge on the ultrasonic sensor, connecting and reading it successfully. This came as a late addition, but I thought it would add to the rhetoric if the music would not start playing until the audience was close enough to the device.
2.8: Connecting to p5.js (why is p5.js like this)

In the ideation phase of the project, a big concern was how I would actually generate the music that would play according to user inputs. Originally I envisioned connecting my Arduino directly to Logic Pro X, my DAW of choice for music production, and using the Arduino as a type of MIDI controller. This would simplify and streamline a lot of things, as I could change musical effects and velocities in real-time, but after doing more research it seemed like the UNO R3 was not very suitable for MIDI.
From the labs and discussions with Supratim and the professor I learned that Arduino is not great for outputting sound itself either, so it seemed like p5.js was the most feasible option. Originally I was hesitant to use p5.js because I didn’t want the project to just boil down to sensor inputs playing an audio file of a loop, and I was also worried about any latency affecting the timing of the whole musical piece. Luckily, JavaScript has a pretty powerful music library in the form of Tone.js, which is what I used to generate and align the music for this project.

The main troubles really came from the p5.serialcontrol app, which was a bit difficult to use. I ran into many errors when trying to connect and send data from the Arduino IDE across to p5.js, and even up to the day before the presentation my Arduino would get disconnected from the p5.serialcontrol app seemingly randomly. Also there would be some times when the Arduino would be connected but the data would not be coming through on the p5.js end. These were just some issues that I had to work around as I completed this project.
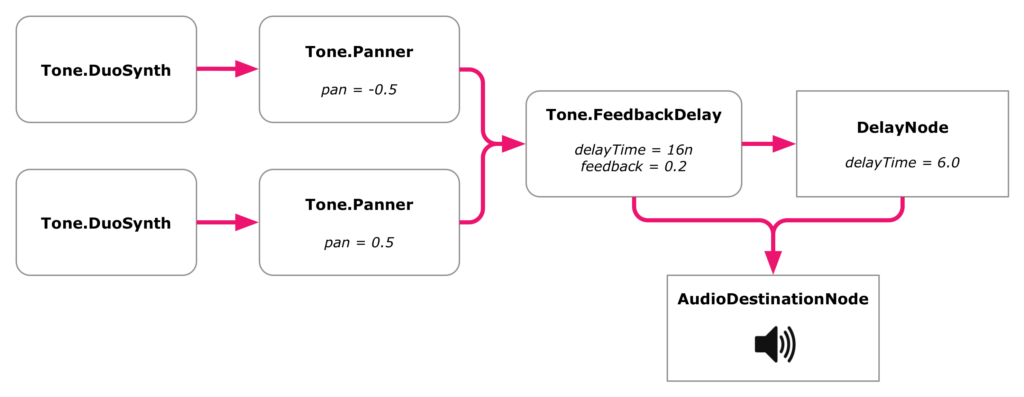
2.9: Creating the sounds and visualizations
Once I got all the data coming into p5.js, I could focus on the music synthesis aspect. This was the most fun part for me, as this is when I could see my device coming to life. The first time I got the drums to work with the photoresistor was really special. Having not done a lot of generative music before, there was a slight learning curve to learn Tone.js, and ultimately I only used two synth instruments; the drums and piano were one-shot samples that I loaded into the Tone.js Sampler. Luckily, having produced music before, many of the music effects like the Reverb and Filter, as well as the overall chaining structure of Tone.js elements, made sense to me, so less time had to be focused on that.
As mentioned before, some of the sensors’ inputs will affect the outputs of other sensors’ instruments. For example, I have in the code thresholds for random values that determine whether the keypad plays more than one note when the player presses a key. The values of the photoresistor and the joystick affect that threshold. I felt that this added to the rhetoric of collaboration and the impact of a player in a community of players. The accelerometer, similarly, affects the sound and tempo of all the instruments together.
It was in this coding phase that I decided upon what I wanted my music to be. Originally I was imagining more a more uptempo track–similar to a project my friend Jason showed me called MikuTap–but as I started to learn and explore more about generative music I thought a more ambient track would fit better. I was inspired by artists like Brian Eno, in particular the track “1/1” off of his 1978 album Ambient 1: Music for Airports. It is a very minimal piece, with mostly a ambient pad in the back and piano as the melody. Another inspiration was Porter Robinson’s “Wind Tempos” from his 2021 album Nurture; this piece is a bit more involved but had some interesting effects that informed the choices for what the sensors could do.
After finishing the music, I decided (since I still had some time left) to try to include some sort of visual aspect to represent that sense of community and connection. I wanted to try generative art, especially some kind of flow field involving Perlin noise, but ultimately I didn’t think I’d be able to accomplish that in the time left. My friend Tanmaie was able to help me brainstorm and walk me through a visualization that involved circles bouncing randomly around the screen until the music is played, at which point the circles will start to sync up and fall into a ringed path. This is the final visualization, and it is affected by the sensors: the keypad will cause more circles to appear on screen and sync up, the photoresistor will cause the background to light up, and the joystick will affect the speed of the circles.
2.10: Testing, bugs, errors, why is p5.js like this
After completing the sound and visualizations, the only thing left was to rigorously test the device connected to p5.js to make sure it wouldn’t break or stop working during the presentation. Even up to the end I was still having trouble with the ultrasonic sensor not starting the music or starting the wrong amount of musical cues, and there were also some issues with the circles in the visualization lagging on the screen, so there were errors and issues to troubleshoot and/or ignore and pray wouldn’t happen the day of the presentation. Shoutout to Shareen for helping me film and test the final product.
PART THREE: THE RESULT
Link to project code: https://editor.p5js.org/allenscai/sketches/gbzX395mz
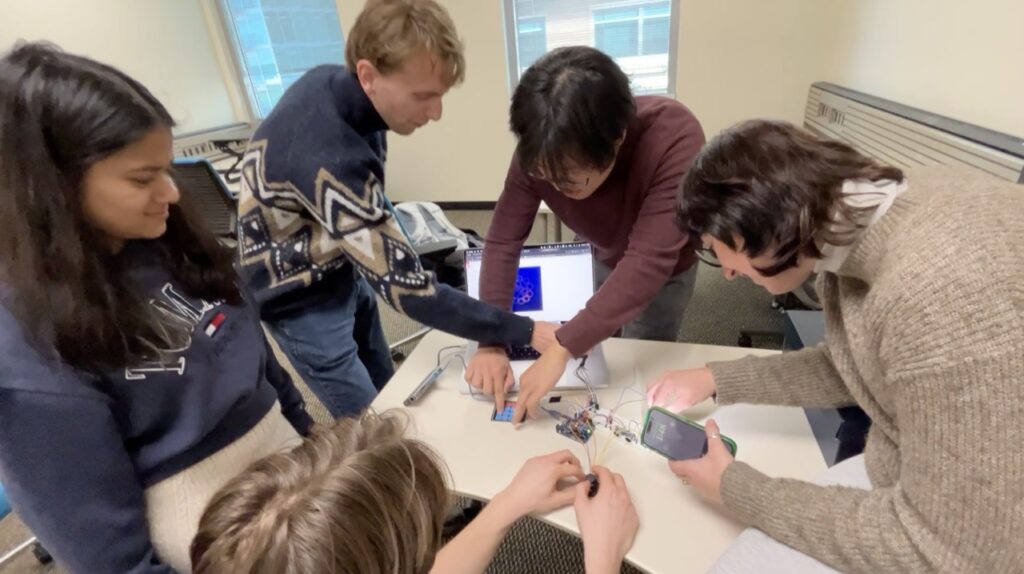
Here is the final device in action! It works better (as intended) when there are four people using it at the same time. Here is a walkthrough of the product:
And here is a short demo video:
PART FOUR: THE REFLECTION
Overall, I’m happy with how the project turned out, especially when I was unsure of the direction it was going to go in for a while. There were certainly improvements and changes I could have made in the process. The most obvious is just starting earlier with the project. I admittedly felt pretty stuck during the ideation phase; I knew the problem I wanted to solve and the general concept for the product but was not really able to solidify anything until the final couple of weeks. I think it would have been beneficial to start playing around with the various sensors earlier on and seeing what other options for sensors could have been possible.
That leads into the second point of having more performative sensors. Other than the accelerometer, I stuck mostly with the stock sensors from the kit, but it would have been fun to explore more ways to involve the audience into the performance. Perhaps some sensors that involved more of the player’s limbs, or ones that collected a mix of passive and active inputs could be interesting.
For future work on this project, it would be cool to include different types of sounds that users could pick to make the generated music piece more unique for each group of players. I also wanted to include a way to record the piece and save it as an audio file to be able to capture the memory of performing the piece together. Finally, the device itself is quite barebones in design, and it would be really cool to create some chassis or frame to hold it in to make it look more appealing and more intuitive to use.
I’d like to thank all my friends who helped me with the ideation, development, and testing, especially Tanmaie, Shareen, Liza, Eli, and Jingxuan. I’d also like to thank the professor and Supratim for a really fun and creative class this semester!
Leave a Reply